Fix “flicker” problem in Dolby Vision MKVs made with MakeMKV
While I consume most of my media in my life like everyone else (an ever expanding list of ever more expensive streaming services), I also have a carefully curated collection of Blu-rays that I watch from time to time. Being who I am, purchasing a Blu-ray player and plugging it into my TV was never a valid option for viewing these. No, I needed a way to rip the discs to files, store them on my server, and access them through a media-center-like interface. After expending far more mental energy than necessary, I came up with the following method of watching my Blu-ray collection:
- Rip discs to uncompressed MKV files using MakeMKV and a Blu-ray drive patched for ripping UHD discs.
- Copy them to a folder on my NAS available to the network via NFS.
- Play them on my TV using an Nvidia Shield TV Pro (2019) and Kodi.
Notes on the Nvidia Shield and Kodi
- The Shield Pro is one of the only Android TV devices that can properly recognize and play Dolby Vision MKV files encoded with Profile 7. No need to dig into what that means other than to say that it’s a special type of DV that’s only used in Blu-ray discs. Generally the only devices “licensed” to play DV Profile 7 are Blu-ray players.
- Until recently, I had to use a special patched version of Kodi to play Dolby Vision MKVs, but as of Kodi 21, it’s supported natively! This is awesome and generally works very well.
The problem
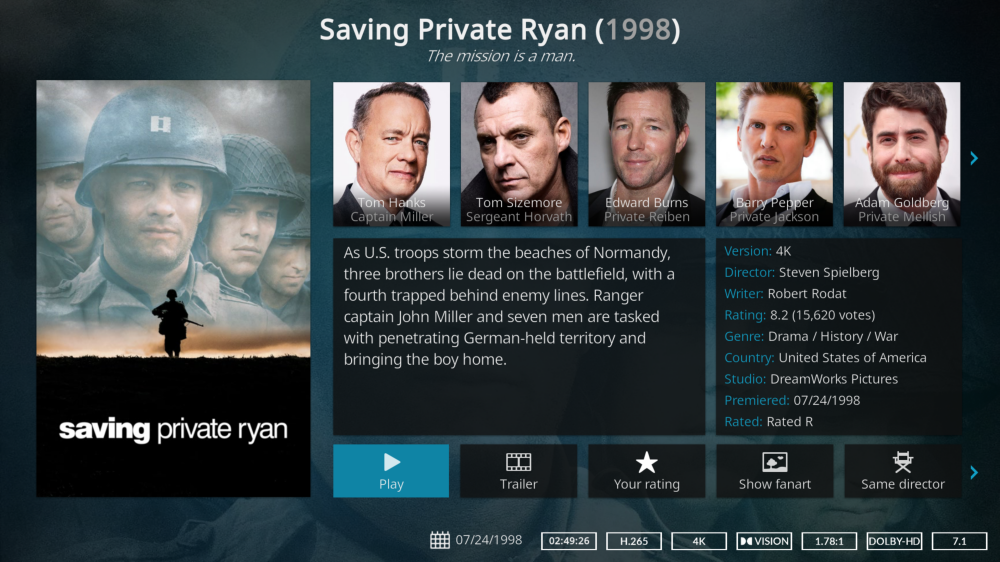
The other night when I started to watch my UHD copy of Saving Private Ryan, I noticed a strange “flickering” in the brighter spots of the image. This is especially noticeable in the opening scene in the cemetary where the sky is bright white. A quick Kagi search of the problem led me to a few posts in the MakeMKV forum and AVSForum that also identified the issue, instantly making me feel better for not being crazy.
Why?
After digging around in forums, I learned that UHD Blu-rays can either apply Dolby Vision using MEL (minimum enhancement layer) or FEL (full enhancement layer). The latter is more problematic for non-standard players and ripped files MKVs, and it happens to be what was used for Saving Private Ryan. This is a rare issue because most DV Blu-rays use MEL.
The solution
The fix for this problem involves ripping the Blu-ray disc in MakeMKV’s backup mode, making changes to the files, and repackaging them into an MKV. Credit to MakeMKV Forum user adamthefilmfan who originally posted the solution. I’ve cleaned up the instructions a bit and adapted them to work on Linux, though they should also work on macOS.
- Install prerequisites
- DGDemux - Unpackages or “demuxes” the
.mplsfile in the Blu-ray backup containing the film. Download the latest .zip file, extract it, and mark thedgdemuxfile as executable. I like to put files like this somewhere on my PATH, like~/bin. - dovi_tool - Extracts the Dolby Vision metadata and re-applies it to the new file. Download the latest .tar.gz, extract it, and mark the
dovi_toolfile as executable. dgdemux also includes a dovi_tool binary in their .zip last time I checked, but it may not be the latest. - MKVToolNix - Repackages or “remuxes” the modified Blu-ray files into a playable MKV. Follow the installation instructions for your platform on their website.
- DGDemux - Unpackages or “demuxes” the
- Rip the disc via the MakeMKV backup function, being sure to check the “decrypt video” box.
- Open the movie playlist with of DGDemux.
dgdemux -d ~/Videos/backup/SAVING\ PRIVATE\ RYAN - Locate the main film title in the list, then demux it. You’ll get separate files for all audio and subtitle tracks (and chapters), as well as two separate video (.hevc) files. Rename the large video file to “BL.hevc” and the small one to “EL.hevc”.
dgdemux -i ~/Videos/backup/SAVING\ PRIVATE\ RYAN/BDMV/PLAYLIST/00800.mpls -o ~/Videos/demux/SPR/00800 - Extract the Dolby Vision RPU from the EL.hevc using
dovi_tooldovi_tool -m 2 extract-rpu -i ~/Videos/demux/SPR/EL.hevc -o ~/Videos/demux/SPR/RPU.bin - Inject the RPU into BL.hevc and save it out to a new file
dovi_tool inject-rpu -i ~/Videos/demux/SPR/EL.hevc -r ~/Videos/demux/SPR/RPU.bin -o ~/Videos/demux/SPR/final.hevc - Open the MKVToolNix GUI and add all the files in the demux directory (video, audio, subtitles, and your hevc files)
- Remove EL.hevc, BL.hevc, and RPU.bin from the list. Make sure final.hevc is still included.
- Set a destination file and click “Start multiplexing”.

After a few minutes, you’ll have a playable, flicker-free MKV file with Dolby Vision still intact. So far this is the only Blu-Ray in my collection I’ve had to do this for 🤞, but I’m glad to have a solution.
Leave a comment