Building a Reproducible Nextcloud Server, Part two: Podman containers and Systemd units
Overview
Now that I’ve established the stack, let’s dive in to setting up the Nextcloud application with Podman. In this post, we’ll get our containers running on your local computer and generate Systemd service files that we can move into a production server. If all goes well, you’ll have rootless Nextcloud running on a publicly accessible domain.
Steps
- Create a Podman Pod
- Create the containers
- Generate Systemd service files
- Move to production
- Troubleshooting
Requirements
- Computer with Podman installed
- Linux server with a publicly routable IP address
- Domain name and the ability to add an “A” record
Notes on rootless Podman
One of the big advantages of using Podman over Docker is that Podman was designed from the beginning to run without root privileges. This has many positive security implications, but there also a few “gotchas” to be aware of, and I’ll be pointing them out as I go through the instructions.
For more details, the Podman project maintains a helpful doc on their Github: The Shortcomings of Rootless Podman.
Create a pod
Podman “pods” are logical groupings of containers that depend on one another. Think of a pod like a Service in Docker Compose; a group of containers that work together to run a single application or service. Once we have a pod that contains our containers, we can stop and start all of them with a single command. Containers within a pod also share a private network so they can exchange data freely with one another.
For a much more thorough explanation on what pods are and how they work, check out this excellent post on the Red Hat developer blog.
Rootless Gotcha #1
In most Linux distributions, unprivileged applications are not allowed to bind themselves to ports below 1024. Before we get started, we’ll need to update a system parameter via sysctl to solve this issue:
sudo sysctl net.ipv4.ip_unprivileged_port_start=80
To make the change persist on reboot, create a new file under /etc/sysctl.d/ named 99-podman.conf and paste the line net.ipv4.ip_unprivileged_port_start=80. You’ll need to use sudo privileges for this.
After that’s done, let’s create a new pod called “nextcloud”.
podman pod create \
--publish 80:80 \
--publish 443:443 \
--network slirp4netns:port_handler=slirp4netns \
nextcloud
You can see the newly created pod by running podman pod ps.
POD ID        NAME        STATUS      CREATED         INFRA ID      # OF CONTAINERS
d1b78054d6f4  nextcloud   Created     2 minutes ago  f4a80daae64f  1
Options explained
--publish 80:80and--publish 443:443opens ports 80 and 443 for the webserver. Containers within pods can communicate with eachother fully on their own isolated network, but for outside traffic to reach the containers, we need to open the necessary ports at the pod level. If you plan to use different ports and and put these containers behind a load balancer, you can use different values here.--network slirp4netns:port_handler=slirp4netnssolves Rootless Gotcha #2. By default, the webserver in rootless mode sees all HTTP requests as originating from the container’s local IP address. This isn’t very helpful for accurate logs, so the above option changes the pod’s port handler to fix the issue. There may be some performance penalties for doing this, but for low to medium traffic servers it shouldn’t be a problem.
Create the containers
To get Nextcloud up and running, we’ll use the following containers:
- nextcoud-fpm - A minimal install of Nextcloud that requires a separate webserver.
- mariadb - Database officially supported by Nextcloud.
- caddy - The Caddy webserver, which I love for the simplicity of its config and the built-in automatic SSL via Let’s Encrypt.
First, create a working directory structure where you’ll store all the container data. For this project, I broke mine out like this:
.podman
└── nextcloud
    ├── caddy
    │   ├── config
    │   └── data
    ├── mariadb
    └── nextcloud
        ├── config
        └── data
Next, I’ll go over each container, showing you the full command I used to create them and explaining each option.
Note on container image versions
As general advice when using container images, use a major version tag (e.g. mariadb:11) instead of :latest or a specific point release. This is a happy medium where minor versions and security fixes get pulled automatically when you run podman pull or podman auto-update, but you still retain control on when to update to the latest major version.
MariaDB
We’ll create the database container first since it doesn’t technically depend on either of the other containers.
podman run \
--detach \
--env MYSQL_DATABASE=nextcloud \
--env MYSQL_USER=nextcloud \
--env MYSQL_PASSWORD=nextcloud \
--env MYSQL_ROOT_PASSWORD=nextcloud \
--volume $HOME/.podman/nextcloud/mariadb:/var/lib/mysql:z \
--name mariadb \
--pod nextcloud \
docker.io/library/mariadb:11
Options explained
--env MYSQL_DATABASE=nextcloud- Name of the database Nextcloud will use, created the first time you run themariadbcontainer.--env MYSQL_USER=nextcloud- Database user Nextcloud will use, created the first time you run themariadbcontainer.--env MYSQL_PASSWORD=nextcloud- Password for the Nextcloud database user. Be sure to change this to something more secure and save it somewhere!--env MYSQL_ROOT_PASSWORD=nextcloud- Password for the database root user. Like the above, be sure to change this to something more secure and save it somewhere! Note that Nextcloud will not use this password, but you’ll want it for any manual database maintenance you have to do in the future.--volume $HOME/.podman/nextcloud/mariadb:/var/lib/mysql:z- Creates a bind mount in the folder you created for MariaDB to store its database and configuration data. The:zoption is needed to give directory access on selinux systems.--name mariadb- Sets the name of the container so we can easily reference it later.--pod nextcloud- Attaches the container to thenextcloudpod we previously created.docker.io/library/mariadb:11- Container image we’re going to download and run.
After you run the command, you can check if the container is running with the podman ps command.
CONTAINER ID  IMAGE                                    COMMAND     CREATED            STATUS         PORTS                                     NAMES
f4a80daae64f  localhost/podman-pause:4.7.0-1695839078              About an hour ago  Up 29 seconds  0.0.0.0:80->80/tcp, 0.0.0.0:443->443/tcp  d1b78054d6f4-infra
c5961a86a474  docker.io/library/mariadb:11             mariadbd    29 seconds ago     Up 29 seconds  0.0.0.0:80->80/tcp, 0.0.0.0:443->443/tcp  mariadb
Note: The other container you see in the output, d1b78054d6f4-infra, is a helper container for the nextcloud pod.
Nextcloud
podman run \
--detach \
--env MYSQL_HOST=mariadb \
--env MYSQL_DATABASE=nextcloud \
--env MYSQL_USER=nextcloud \
--env MYSQL_PASSWORD=nextcloud \
--volume $HOME/.podman/nextcloud/nextcloud/config:/var/www/html:z \
--volume $HOME/.podman/nextcloud/nextcloud/data:/var/www/html/data:z \
--name nextcloud-app \
--pod nextcloud \
docker.io/library/nextcloud:27-fpm
Options explained
--env MYSQL_HOST=mariadb- Name of the container hosting the database. Thanks to Podman’s built-in DNS, container names will resolve to their private IP address, so all we have to do is point Nextcloud atmariadband it will find the database on its internal pod network.--env MYSQL_DATABASE=nextcloud- Name of the database Nextcloud will use, the same that you created in themariadbcontainer.--env MYSQL_USER=nextcloud- Database user Nextcloud will use, the same that you created in themariadbcontainer.--env MYSQL_PASSWORD=nextcloud- Password for the Nextcloud database user, the same that you created in themariadbcontainer.--volume $HOME/.podman/nextcloud/nextcloud/config:/var/www/html:z- Creates a bind mount in the folder you created for Nextcloud to store its configuration files.--volume $HOME/.podman/nextcloud/nextcloud/data:/var/www/html/data:z- Creates a bind mount in the folder you created for Nextcloud’s data directory.--name nextcloud-app- Sets the name of the container (container names can’t be the same as a pod, hence the-appin the name.)--pod nextcloud- Attaches the container to thenextcloudpod we previously created.docker.io/library/nextcloud:27-fpm- Container image we’re going to download and run,27being the latest major version of Nextcloud as of this writing.
You should now have two containers running, plus the pod helper:
CONTAINER ID  IMAGE                                    COMMAND     CREATED            STATUS         PORTS                                     NAMES
f4a80daae64f  localhost/podman-pause:4.7.0-1695839078              About an hour ago  Up 18 minutes  0.0.0.0:80->80/tcp, 0.0.0.0:443->443/tcp  d1b78054d6f4-infra
c5961a86a474  docker.io/library/mariadb:11             mariadbd    18 minutes ago     Up 18 minutes  0.0.0.0:80->80/tcp, 0.0.0.0:443->443/tcp  mariadb
13d5c43c0b4d  docker.io/library/nextcloud:27-fpm       php-fpm     5 seconds ago      Up 5 seconds   0.0.0.0:80->80/tcp, 0.0.0.0:443->443/tcp  nextcloud-app
Caddy
Before we start the Caddy container, we’ll need to write a config in the form of a Caddyfile. Since we’re just focused on getting the containers working locally, let’s do a simple configuration without HTTPS.
Create file named Caddyfile in $HOME/.podman/nextcloud/caddy/config/ and paste the below contents.
http://localhost:80 {

    root * /var/www/html
    file_server
    php_fastcgi nextcloud-app:9000 {
        root /var/www/html
        env front_controller_active true
    }
}
The above is a bare-minimum configuration to run Nextcloud locally on port 80. We’ll make lots of tweaks to this file before we move to production.
Assuming the Caddyfile is in place, run the below command to spin up the final container:
podman run \
--detach \
--volume $HOME/.podman/nextcloud/nextcloud/config:/var/www/html:z \
--volume $HOME/.podman/nextcloud/caddy/config/Caddyfile:/etc/caddy/Caddyfile:z \
--volume $HOME/.podman/nextcloud/caddy/data:/data:z \
--name caddy \
--pod nextcloud \
docker.io/library/caddy:2
Options explained
--volume $HOME/.podman/nextcloud/nextcloud/config:/var/www/html:z- Creates a bind mount in the folder you created for Nextcloud to store its configuration files. This is the content Caddy serves to the web, so it needs access.--volume $HOME/.podman/nextcloud/caddy/config/Caddyfile:/etc/caddy/Caddyfile:z- Creates a bind mount for the CaddyFile.--volume $HOME/.podman/nextcloud/caddy/data:/data:z- Creates a bind mount for Caddy’s data folder.--name caddy- Sets the name of the container.--pod nextcloud- Attaches the container to thenextcloudpod we previously created.docker.io/library/caddy:2- Container image we’re going to download and run.
Verify that all (3) containers are running with podman ps.
CONTAINER ID  IMAGE                                    COMMAND               CREATED         STATUS         PORTS                                     NAMES
f4a80daae64f  localhost/podman-pause:4.7.0-1695839078                        2 hours ago     Up 45 minutes  0.0.0.0:80->80/tcp, 0.0.0.0:443->443/tcp  d1b78054d6f4-infra
c5961a86a474  docker.io/library/mariadb:11             mariadbd              45 minutes ago  Up 45 minutes  0.0.0.0:80->80/tcp, 0.0.0.0:443->443/tcp  mariadb
13d5c43c0b4d  docker.io/library/nextcloud:27-fpm       php-fpm               26 minutes ago  Up 26 minutes  0.0.0.0:80->80/tcp, 0.0.0.0:443->443/tcp  nextcloud-app
b29486a99286  docker.io/caddy:2         caddy run --confi...  4 minutes ago   Up 4 minutes   0.0.0.0:80->80/tcp, 0.0.0.0:443->443/tcp  caddy
Go to http://localhost in your browser and…
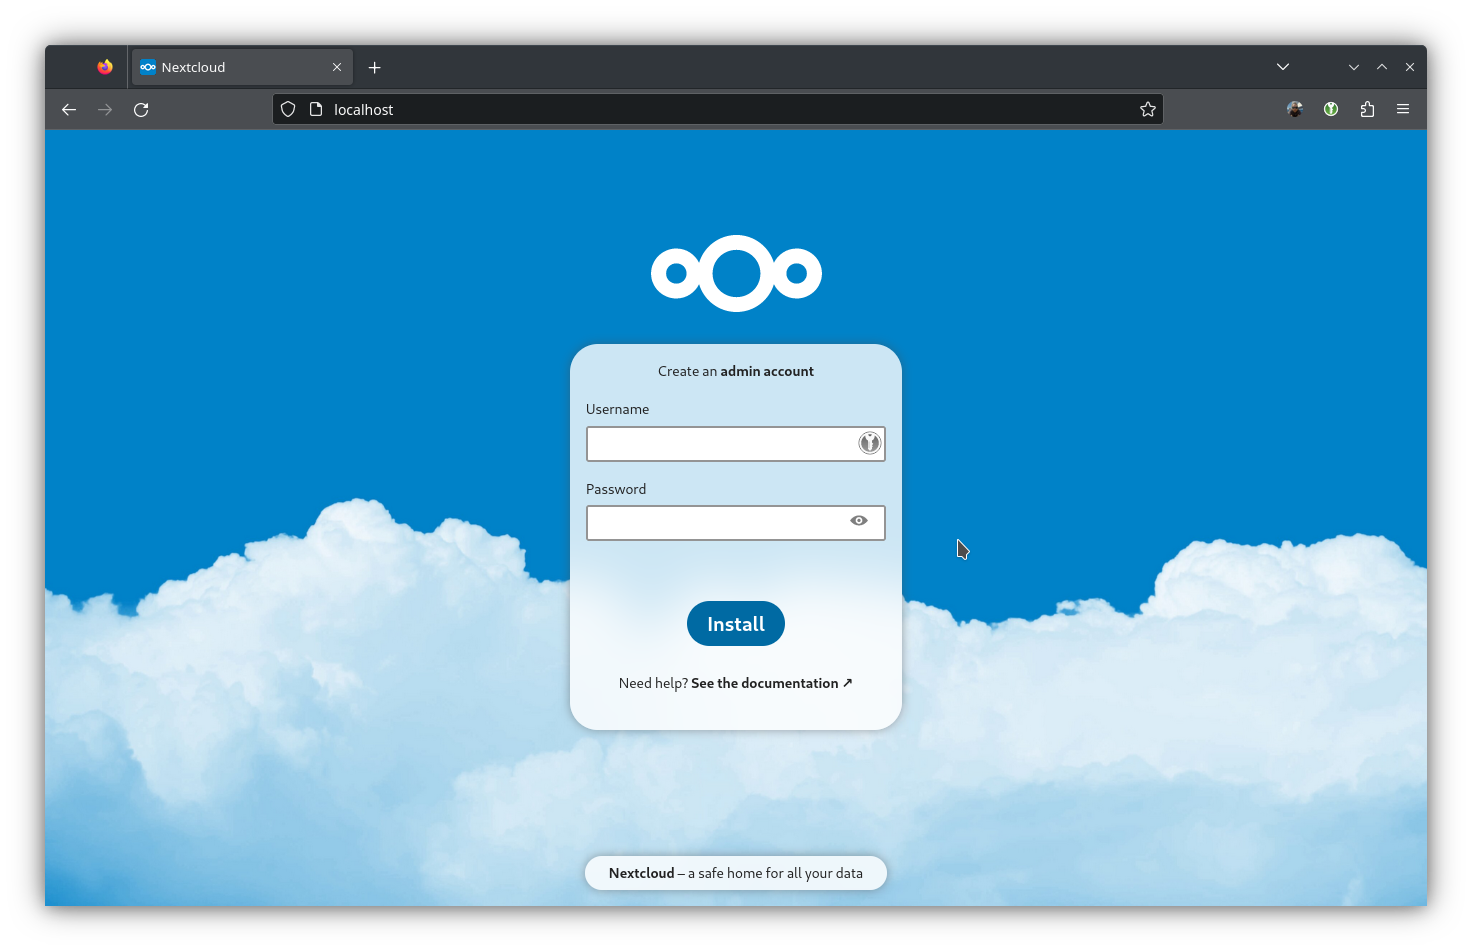
Ta-da! We have Nextcloud!
Since the containers are part of the nextcloud pod, you can stop and start all of them with one command. You can run podman pod stop to take them down and podman pod start to bring them back up. Pretty cool huh?
Generate Systemd files
Even better than starting and stopping your containers at the pod level is doing it with systemd! This will allow you to manage your Nextcloud pod the same way as any other systemd service, including enabling it to run at system start.
Instead of writing all the systemd unit files by hand, we’re going to use a handy subcommand of the podman application, podman generate systemd.
First, make sure the pod and all its containers are running. Then, run the below command:
podman generate systemd --new --files --name nextcloud

/home/raylyon/container-nextcloud-app.service
/home/raylyon/container-caddy.service
/home/raylyon/container-mariadb.service
/home/raylyon/pod-nextcloud.service
The output gives you the path to each file, and we’ll need to move these files into the systemd user directory, $HOME/.config/systemd/user/. Create the directory if it doesn’t already exist.
mkdir -p $HOME/.config/systemd/user
Copy each of the files into the above directory.
cp $HOME/*.service $HOME/.config/systemd/user/
Reload the systemd user daemon.
systemctl --user daemon-reload
Start the service corresponding to the pod.
systemctl --user start pod-nextcloud
podman ps should show that all your containers are running. If you have issues, you can troubleshoot the same way you would for another systemd service.
Check the status of the pod.
systemctl --user status pod-nextcloud
Check the status of an individual container.
systemctl --user status container-nextcloud-app
Check the service output for errors (note that you need sudo for this one).
sudo journalctl -xe
Move to production
Up until now we’ve been working with our containers on localhost, but now it’s time to move them to a public-facing server with a public IP and domain name. This step in the process highlights one of the biggest selling points of containers; we can develop and configure locally, then push that exact working configuration to another server and it Just Works™. Beyond that, our systemd unit files save us the trouble of remembering the exact podman commands to run on the server, so we can simply copy the files and start the service.
First, copy the *.service files from your computer to the public-facing server with a tool like scp or rsync.
scp $HOME/.config/systemd/user/*.service user@your.server.com:/home/user/
Then, on the production server recreate the folder structure you used locally.
mkdir -p $HOME/.podman/nextcloud/nextcloud/config
mkdir -p $HOME/.podman/nextcloud/nextcloud/data
mkdir -p $HOME/.podman/nextcloud/caddy/config
mkdir -p $HOME/.podman/nextcloud/caddy/data
mkdir -p $HOME/.podman/nextcloud/mariadb
Also, create the systemd folder if it’s not already there.
mkdir -p $HOME/.config/systemd/user
Copy the service files into the systemd user directory and reload systemd.
cp $HOME/*.service $HOME/.config/systemd/user/
systemctl --user daemon-reload
Caddyfile
The Caddyfile we used earlier won’t be suitable for production since it doesn’t use a FQDN or HTTPS. Create a new Caddyfile on the server in $HOME/.podman/nextcloud/caddy/config/ with the below contents, replacing the domain with one you’ve set up for the server.
your.server.com {

    root * /var/www/html
    file_server
    php_fastcgi nextcloud-app:9000 {
        root /var/www/html
        env front_controller_active true
    }

    encode gzip

    log {
        output file /data/nextcloud-access.log
    }

    header {
        Strict-Transport-Security "max-age=15768000;includeSubDomains;preload"
    }

    # .htaccess / data / config / ... shouldn't be accessible from outside
	@forbidden {
		path /.htaccess
		path /data/*
		path /config/*
		path /db_structure
		path /.xml
		path /README
		path /3rdparty/*
		path /lib/*
		path /templates/*
		path /occ
		path /console.php
	}
	respond @forbidden 404

    redir /.well-known/carddav /remote.php/dav 301
    redir /.well-known/caldav /remote.php/dav 301
}
The above configuration will use Caddy’s built-in automatic HTTPS to pull a certificate from Let’s Encrypt. It also blocks web access to certain directories in your Nextcloud folder and adds redirects for Nextcloud’s CalDAV and CardDAV endpoints.
MariaDB optimizations
After running this setup in production for a couple months and going through my first Nextcloud version upgrade, I had issues with Nextcloud losing access to the database during the upgrade process. I did some research and found this helpful article in Nextcloud’s documentation which points to some MariaDB options we can use to fix these issues.
The MariaDB container allows us to pass any additional configuration options as command line arguments to the container run command. This makes it simple to tweak our systemd service file to enable the optimizations.
Open the container-mariadb.service file in a text editor and add the following arguments after docker.io/library/mariadb:11 in the ExecStart block:
--transaction-isolation=READ-COMMITTED \
--log-bin=binlog \
--binlog-format=ROW \
--max_allowed_packet=256000000
The ExecStart block should look something like this when you’re done:
ExecStart=/usr/bin/podman run \
    --cidfile=%t/%n.ctr-id \
    --cgroups=no-conmon \
    --rm \
    --pod-id-file %t/pod-nextcloud.pod-id \
    --sdnotify=conmon \
    --replace \
    --detach \
    --env MYSQL_DATABASE=nextcloud \
    --env MYSQL_USER=nextcloud \
    --env MYSQL_PASSWORD=nextcloud \
    --env MYSQL_ROOT_PASSWORD=nextcloud \
    --volume %h/.podman/nextcloud/mariadb:/var/lib/mysql:z \
    --name mariadb docker.io/library/mariadb:11 \
    --transaction-isolation=READ-COMMITTED \
    --log-bin=binlog \
    --binlog-format=ROW \
    --max_allowed_packet=256000000
Nextcloud maitenance cron job
Nextcloud has an ongoing background task that needs to run on a regular basis. There are a few different ways to schedule this, but the recommend method is using cron on the host server.
Edit your user crontab by running crontab -e (without sudo) and add the following line:
*/5 * * * * podman exec -u 33 nextcloud-app php /var/www/html/cron.php
The command is opening a shell inside the nextcloud-app container and running Nextcloud’s cron.php script every 5 minutes. The -u 33 option is telling Podman to run the command as UID 33, which is the UID of the www-data user inside the Nextcloud container.
(Optional) Use an env file for credentials in systemd files
Instead of pasting the database credentials and other secrets directly into the systemd unit files, we can use the EnvironmentFile parameter to dump those into a .env file with locked-down permissions.
Create the .env file somewhere on the system that makes sense. I recommend placing it in the $HOME/.podman/nextcloud directory and naming it .nextcloud-env. The syntax of the file should look like this:
NEXTCLOUD_VERSION=27
MYSQL_PASSWORD=SuperSecretPassword
MYSQL_DATABASE=nextcloud
MYSQL_USER=nextcloud
MYSQL_ROOT_PASSWORD=EvenMoreSuperSecretPassword
Update the permissions of the file so that only your user on the host system can read it. Replace youruser in the below command with the user running your containers.
chown youruser:youruser $HOME/.podman/nextcloud/.nextcloud-env
chmod 0600 $HOME/.podman/nextcloud/.nextcloud-env
Update each of your systemd unit files that need to access the file with the EnvironmentFile parameter in the [Service] block:
EnvironmentFile=%h/.podman/nextcloud/.nextcloud-env
%h in systemd lingo is a variable for your home directory.
Lastly, replace the values in your systemd unit files with ${VARIABLE_NAME}. In the end your files will look something like this, using the container-mariadb.service file as an example:
[Unit]
Description=Podman container-mariadb.service
Documentation=man:podman-generate-systemd(1)
Wants=network-online.target
After=network-online.target
RequiresMountsFor=%t/containers
BindsTo=pod-nextcloud-pod.service
After=pod-nextcloud-pod.service

[Service]
Environment=PODMAN_SYSTEMD_UNIT=%n
EnvironmentFile=%h/.podman/nextcloud/.nextcloud-env
Restart=on-failure
TimeoutStopSec=70
ExecStartPre=/bin/rm -f %t/%n.ctr-id
ExecStart=/usr/bin/podman run \
    --cidfile=%t/%n.ctr-id \
    --cgroups=no-conmon \
    --rm \
    --pod-id-file %t/pod-nextcloud-pod.pod-id \
    --sdnotify=conmon \
    --replace \
    --detach \
    --env MYSQL_DATABASE=${MYSQL_DATABASE} \
    --env MYSQL_USER=${MYSQL_USER} \
    --env MYSQL_PASSWORD=${MYSQL_PASSWORD} \
    --env MYSQL_ROOT_PASSWORD=${MYSQL_ROOT_PASSWORD} \
    --volume %h/.podman/nextcloud/mariadb:/var/lib/mysql:z \
    --name mariadb docker.io/library/mariadb:11 \
    --transaction-isolation=READ-COMMITTED \
    --log-bin=binlog \
    --binlog-format=ROW \
    --max_allowed_packet=256000000
ExecStop=/usr/bin/podman stop --ignore --cidfile=%t/%n.ctr-id
ExecStopPost=/usr/bin/podman rm -f --ignore --cidfile=%t/%n.ctr-id
Type=notify
NotifyAccess=all

[Install]
WantedBy=default.target
Start your service!
At this point, everything should be in place for your Nextcloud production server. Make sure of the following:
- A DNS A record exists pointing to the public IP address of your server.
- That domain matches the domain in your Caddyfile.
- The host firewall is allowing incoming ports
80and443. This is usuallyfirewalldon REHL-based systems orufwon Debian-based.
Before starting the service, reload the systemd user daemon.
systemctl --user daemon-reload
Enable the pod service so it starts on boot.
systemctl --user enable pod-nextcloud
Rootless gotcha #3: enable lingering for your user. This allows non-root users to start services at boot without a console login.
sudo loginctl enable-linger youruser
If you haven’t done so already, make the change to update the unprvivileged ports that I referenced earlier in the post.
sudo sysctl net.ipv4.ip_unprivileged_port_start=80
Don’t forget to create the file at /etc/sysctl.d/99-podman.conf so it persists on reboot!
Finally, start the Nextcloud service!
systemctl --user start pod-nextcloud
On the first run, it may take a few mintues for Podman to pull down the container images. Check the output of podman ps and you should see the containers appearing there one after the other, eventually showing all three.
CONTAINER ID  IMAGE                                    COMMAND               CREATED         STATUS         PORTS                                     NAMES
f4a80daae64f  localhost/podman-pause:4.7.0-1695839078                        2 hours ago     Up 45 minutes  0.0.0.0:80->80/tcp, 0.0.0.0:443->443/tcp  d1b78054d6f4-infra
c5961a86a474  docker.io/library/mariadb:11             mariadbd              45 minutes ago  Up 45 minutes  0.0.0.0:80->80/tcp, 0.0.0.0:443->443/tcp  mariadb
13d5c43c0b4d  docker.io/library/nextcloud:27-fpm       php-fpm               26 minutes ago  Up 26 minutes  0.0.0.0:80->80/tcp, 0.0.0.0:443->443/tcp  nextcloud-app
b29486a99286  docker.io/library/caddy:2           caddy run --confi...  4 minutes ago   Up 4 minutes   0.0.0.0:80->80/tcp, 0.0.0.0:443->443/tcp  caddy
At this point you should have rootless Nextcloud accessible at your FQDN on the public internet with HTTPS!
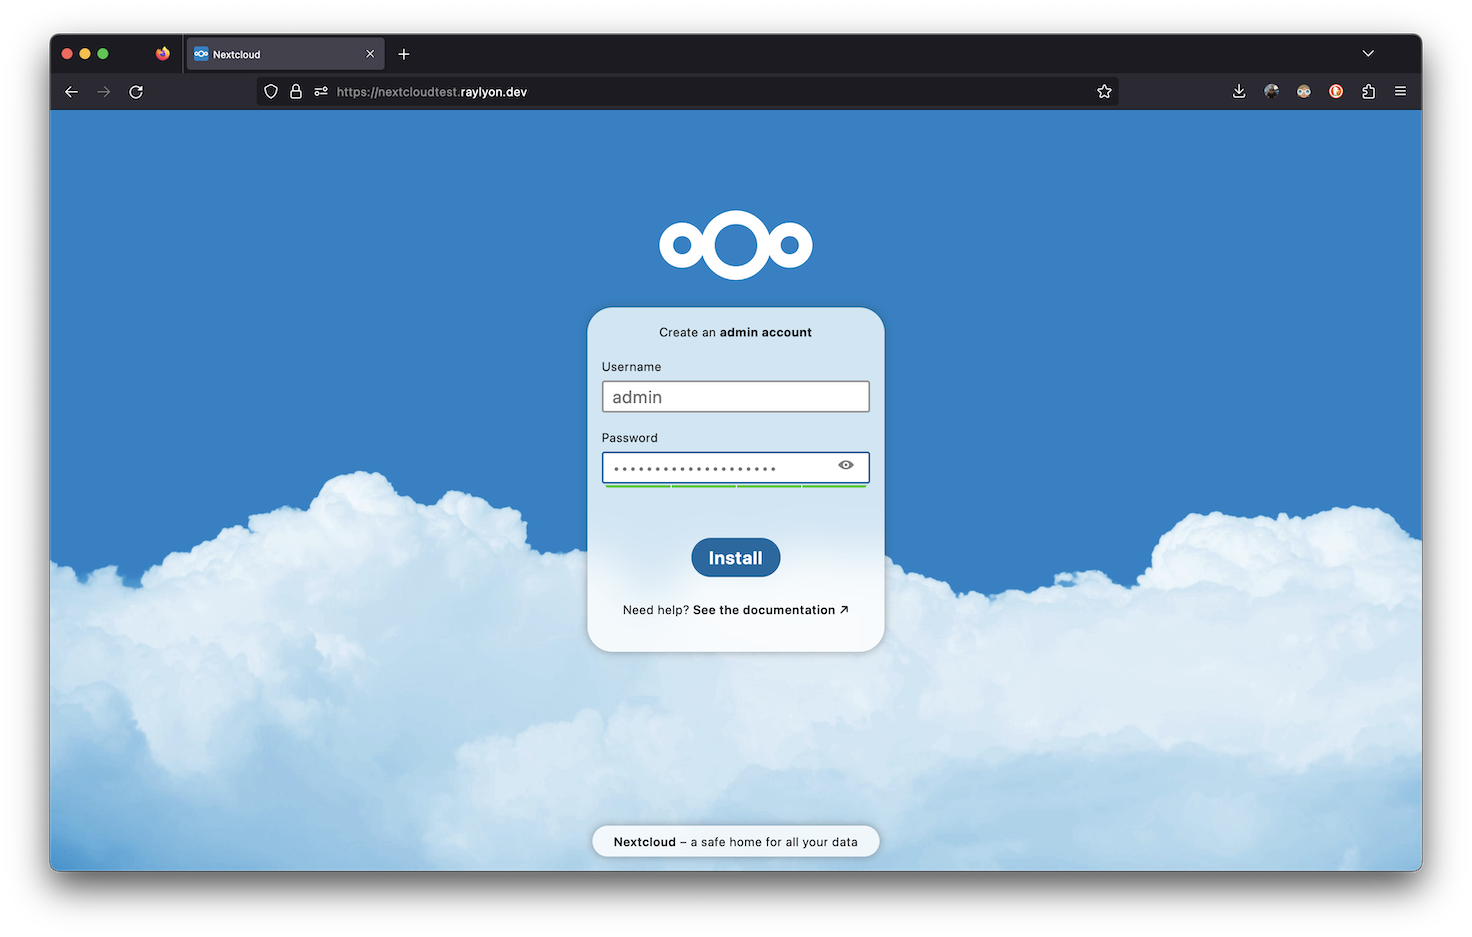
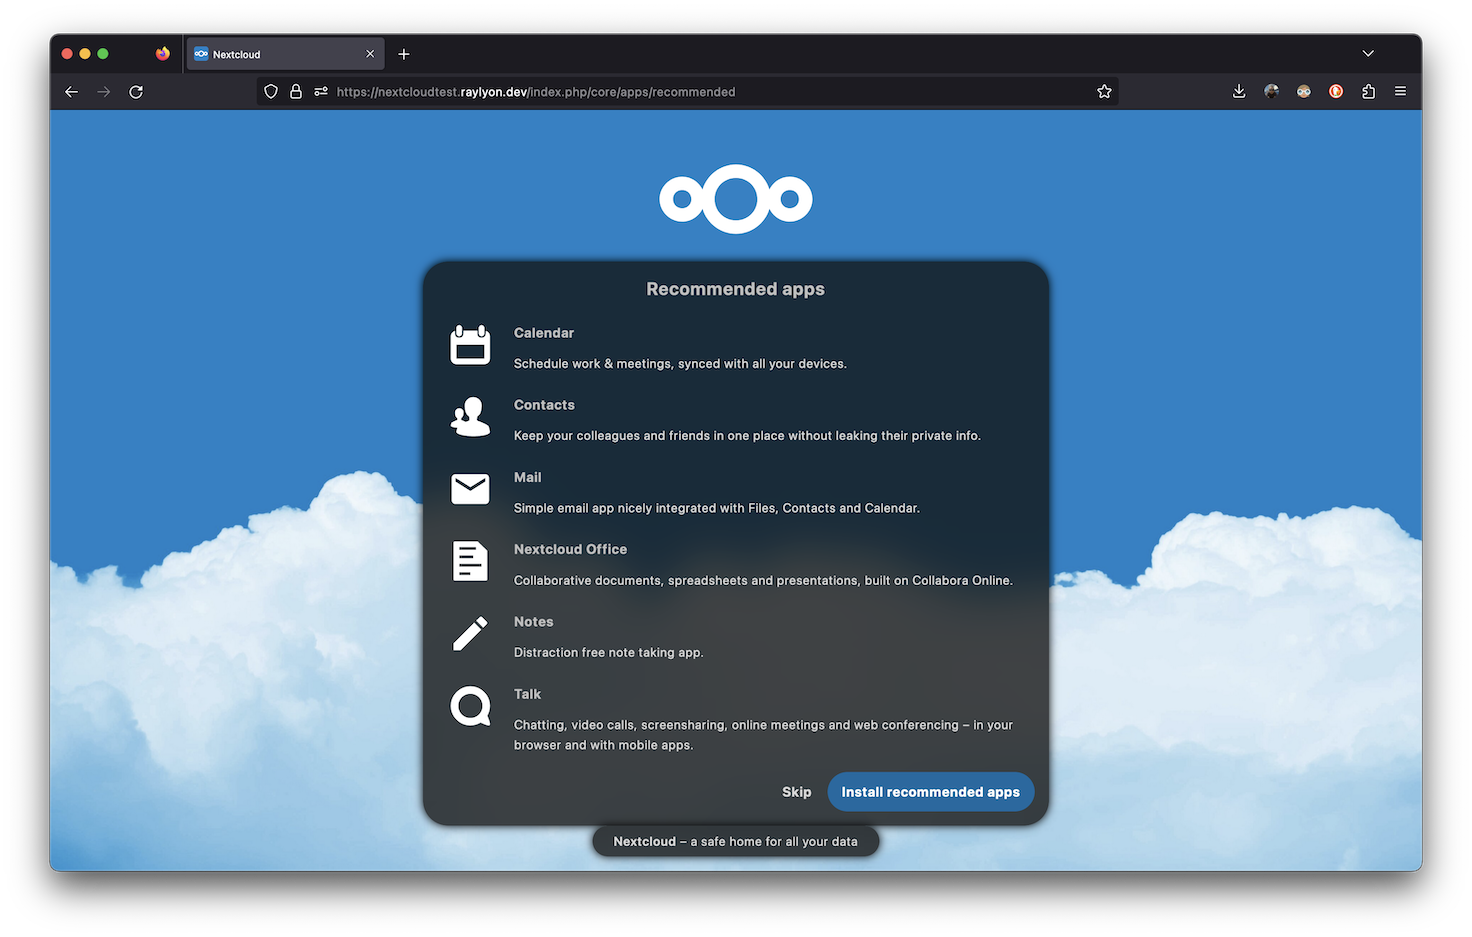
Walk through the first-time setup of Nextcloud to create your admin account and install apps.
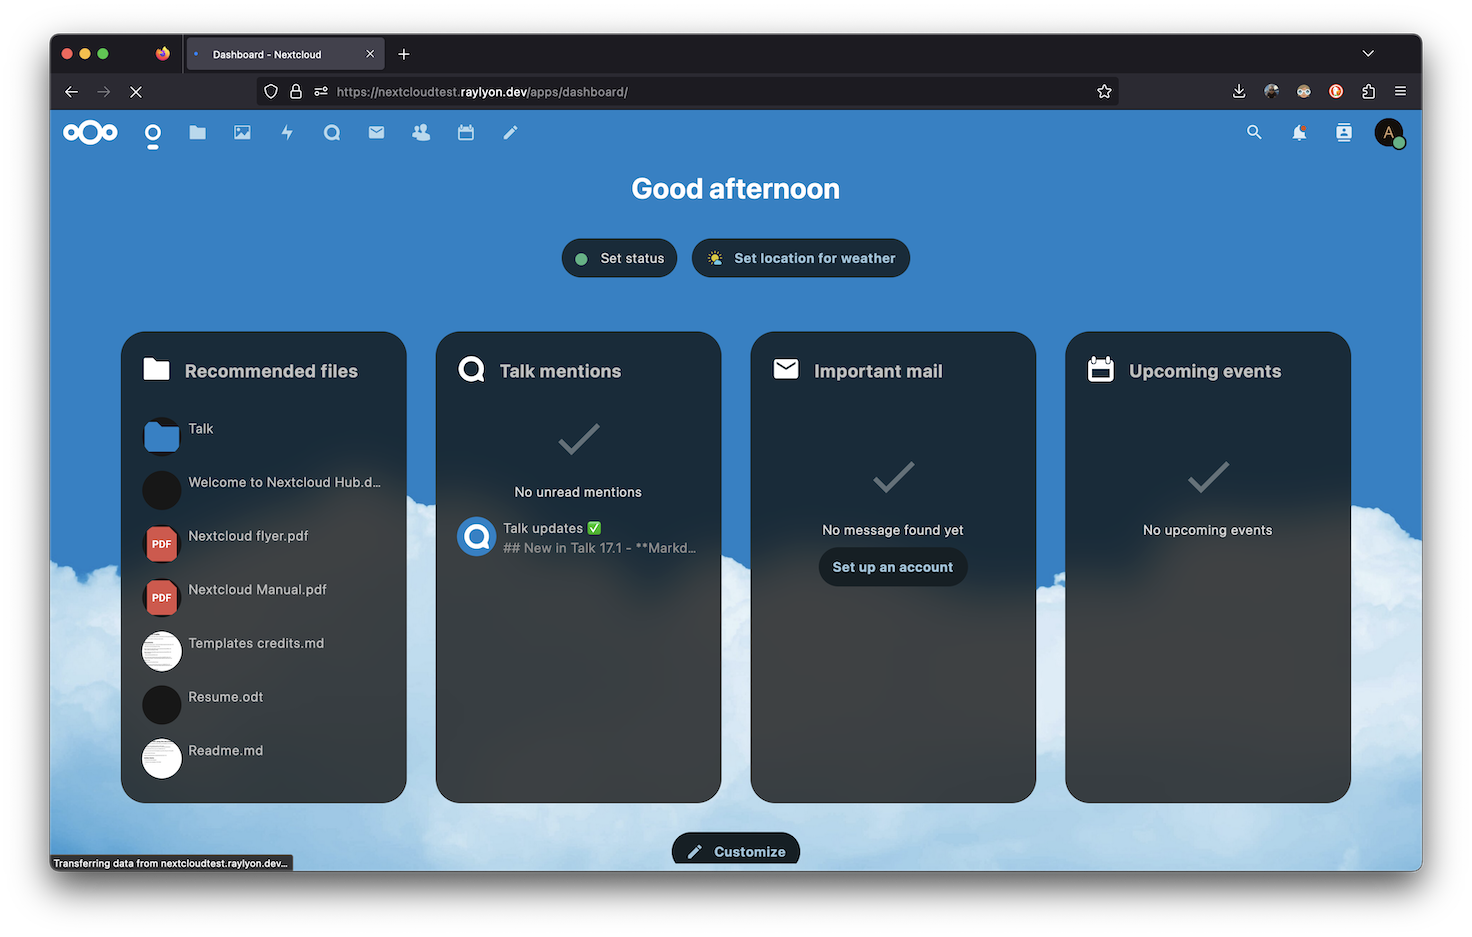
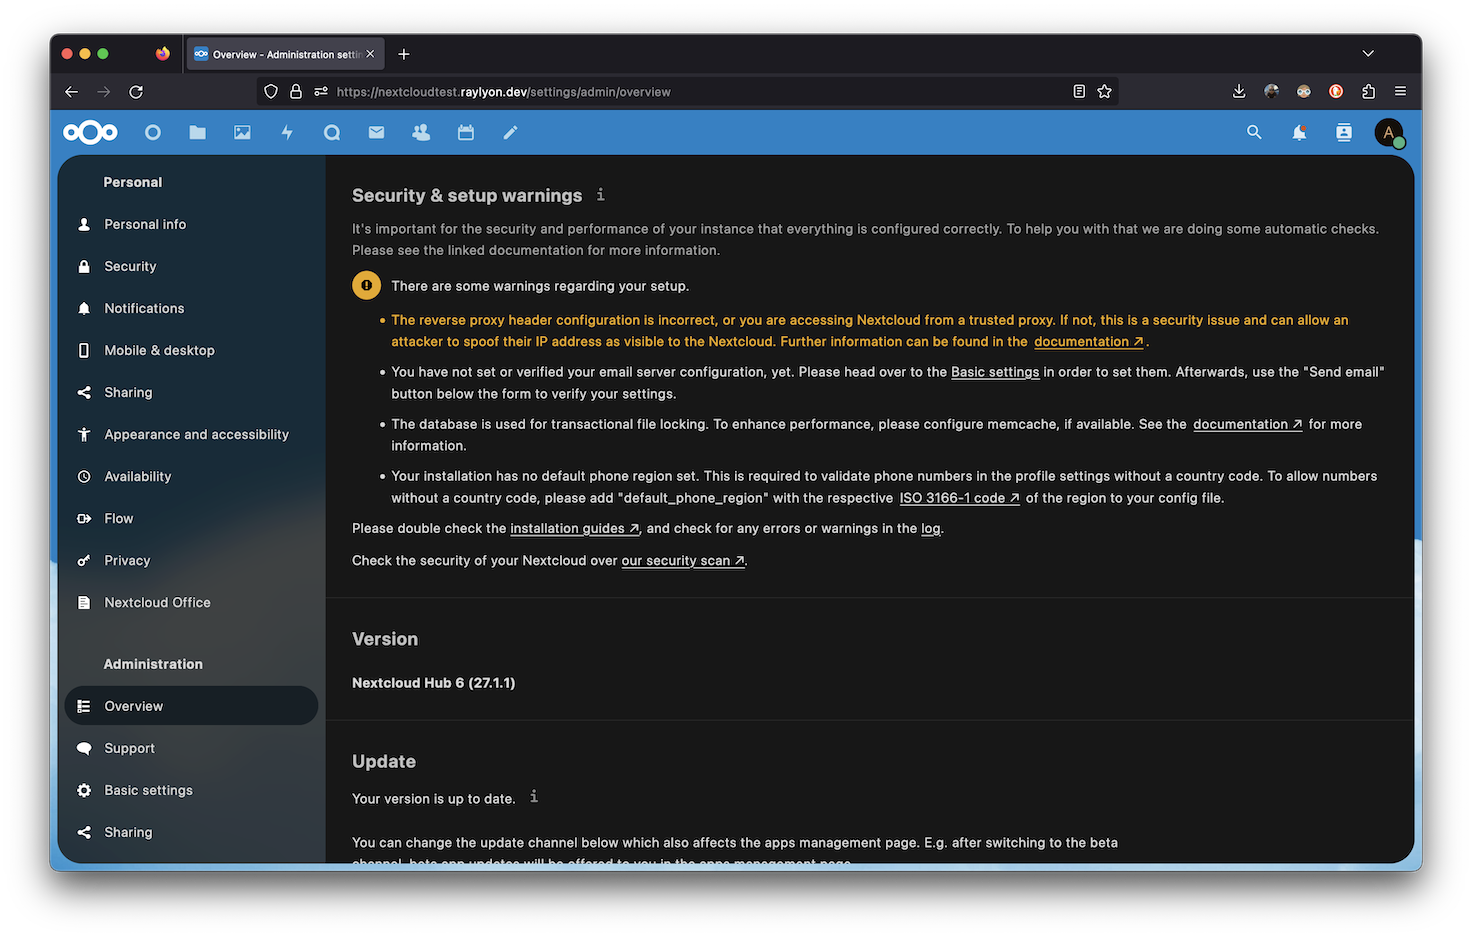
I recommend navigating to Administration Settings -> Overview and reading the “Security & setup warnings”. The Nextcloud app always has a few recommendations for fixes and changes to the configuration, with documentation to back it up.
Troubleshooting
If the Nextcloud page isn’t loading as expected or you’re getting an error when launching your service, the container output logs are your friends! Run podman ps to see if your containers are running. If they are, use podman logs <container name> to see the latest output from each container. It’s usually pretty easy to spot red flags there.
If the containers aren’t running, use sudo journalctl -xe to check the output of each service. You may have to scroll up a bit to get useful information, since services will often try to restart multiple times after an error and fill up the output. Make sure you scroll up past the messages that say “service start request repeated too quickly” and try to find the first messages shown from each container’s service.
Common problems
- Directory or file referenced in the
*.servicefile doesn’t exist or is in the wrong location (your container directories and Caddyfile). Make sure the paths are consistent in all your files. - Caddy can’t get the certificate from Let’s Encrypt. Make sure your A record points to the correct IP and that it’s had time to propagate across the web. This takes up to 30 minutes after you add the record.
- Firewall blocking ports 80 and 443. Beyond
ufwandfirewalldon the system, make sure there aren’t any additional firewalls set up in your VPS provider or home network that could be blocking the incoming ports. - Nextcloud can’t connect to the database. Make sure the
$MYSQL_HOSTvalue matches the container name of the MariaDB container. Make sure the same is true for the database username and password.
Helpful links
Next steps
Now that we have a working server, let’s make sure we never have to do it by hand again! In Part 3 of the series, I’ll go over how you can automate the entire configuration with an Ansible playbook. Not only can you re-use that playbook to spin up multiple servers or re-deploy on a new hosting provider, it also acts as documentation that writes itself.
As always, feel free to leave a comment below with any questions or suggestions. You can also reach me by email or Mastodon.
Happy hacking!
Leave a comment